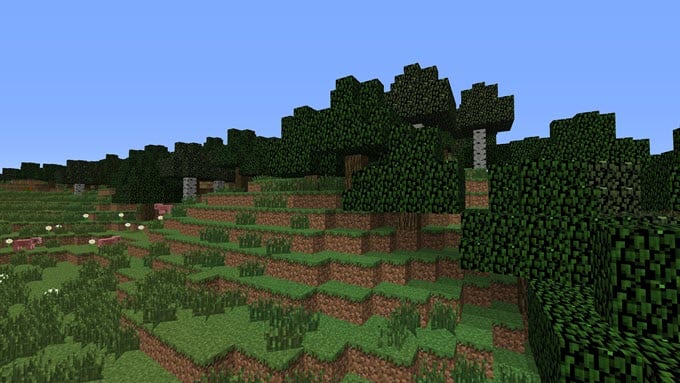
Minecraft isn’t like your typical video game. There aren’t any obvious objectives or any real tutorials to help you get started. So this beginner’s guide will help you get prepared for your very first adventures in Minecraft. The fun thing about Minecraft is that it’s an open, endless world and you’re free to do whatever you please. But to do that, it’ll help to understand the basics.
The Objective & Basic Controls In Minecraft
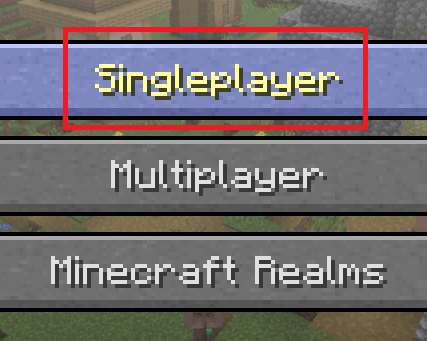
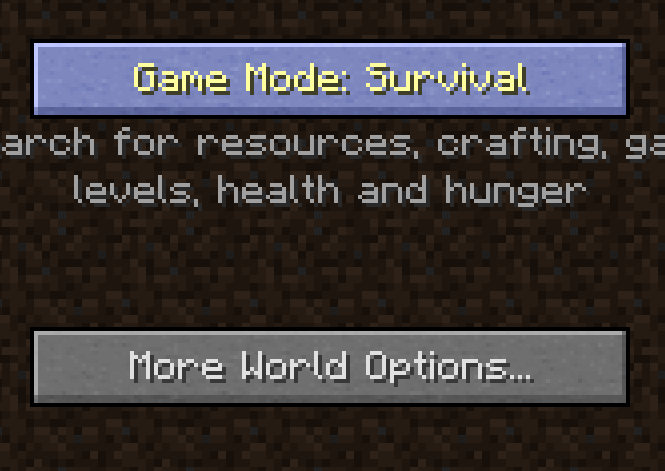
Before we get into how to play Minecraft, visit Minecraft.net to purchase and download the game. Minecraft is available on most modern platforms, consoles and smartphones. For this guide, we’ll be focusing on Minecraft on Windows, Mac, and Linux. But once you understand the basics, they can be applied to any version on any platform. There isn’t a main objective in Minecraft, but there is a certain flow of gameplay that is recommended for everybody. You start in this huge open world with nothing, and must gather materials from scratch to build yourself a shelter, get food, build a bed and survive until the next day. From there, you can begin to go mining for valuable resources like iron ore and diamond to create powerful tools, weapons, and armor. As you play for longer, you’ll be able to explore the open world, find villages, loot hidden chests, and fight enemy creatures called mobs. Before we begin with any of that though, we should take you through the basics. Start by opening Minecraft. Click Singleplayer and then click Create New World. Click the Game Mode button until Survival is visible. The fun starts in Survival mode, where you must survive and gather everything for yourself. We recommend you stick to the standard controls. Here is an overview:
Movement – W, A, S, & D keysJump – SpacebarRun – Double tap WCrouch/Sneak – Hold ShiftAccess inventory – EUse the mouse to look aroundF5 – cycle through different camera viewsBreak blocks or attack – left clickUse or place items – right clickThrow the item you are holding on the ground – Q Cycle through the slots on your inventory – 1-9 number keys
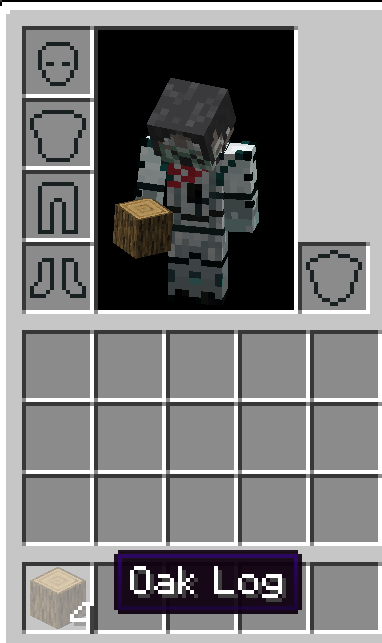
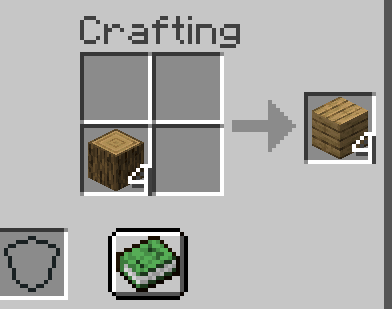
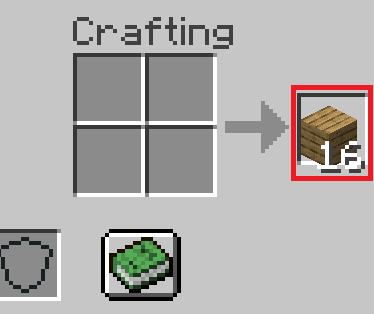
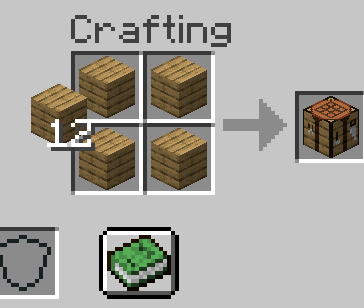
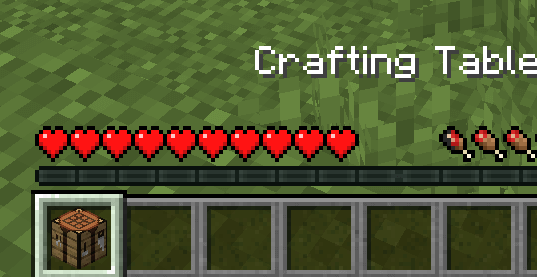
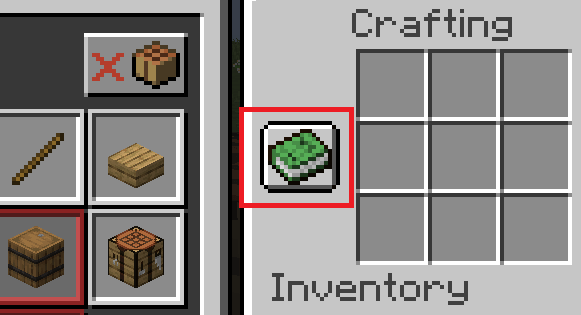
With these controls in mind, let’s test it out. Move to a nearby tree and break it by holding the left mouse click. Once the tree block breaks, it will drop a log. Break four tree pieces and collect them when they drop on the ground. Press E to open your inventory. You will notice that you have the four logs in the bottom row of squares. This row is your quick slot tab. You can press 1 to 9 to equip any of these. The rest of your inventory will hold more items but you cannot quick equip them. You can click and drag items in your inventory to change their location. Everything in Minecraft must be mined or crafted. So if you wanted to build tools for example, you must mine the base resources for them, and then craft them. It starts at the very basic level and goes from there. For example to build a tool, you start with a log, then build planks, then craft sticks, and use sticks and planks together to make a tool. Almost all crafting requires a crafting table. To create one, you can use your logs. First, click and drag your logs into the four small squares shown next to your character in the inventory menu. You will notice that there will be 4 new items in the output box. These are planks. Right click this four times to convert your logs into planks and then drag them into your main inventory. It may seem a bit strange at first but bear with me. Next, use the left click to select the 16 planks you created. And then right click once when hovering over each of the four boxes next to your character. There will be a new item in the output box. It’s a crafting table. Left click to put your planks back in a blank space in your inventory, then left click to select the crafting table. Next, move your mouse to the toolbar at the bottom and left click to drop it there. Next, exit the inventory by pressing E. You can now equip your crafting table by pressing the number key corresponding to the slot it is in. After, you can look at anywhere on the ground and right click to place it down. Next, look at the crafting table and right click. You will see the new crafting table user interface. Click the green book to bring out the extended crafting table menu. You can click on items on the left side to see how they are crafted. As you play, you’ll learn more crafting recipes, or you can search on the internet for them. For now, we need to build some basic tools. In Minecraft, tools can help you gather resources faster. Tool types include the following –
Pickaxes for mining rock and ore faster.Axes for cutting trees faster.Shovels for digging dirt faster.Hoes for preparing soil for planting seeds.Swords for attacking enemy mobs.
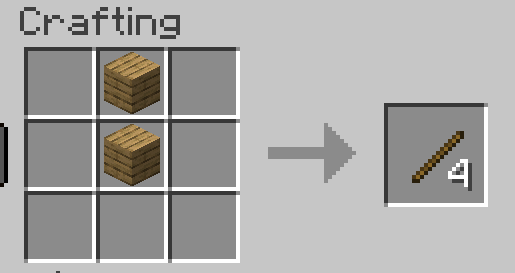
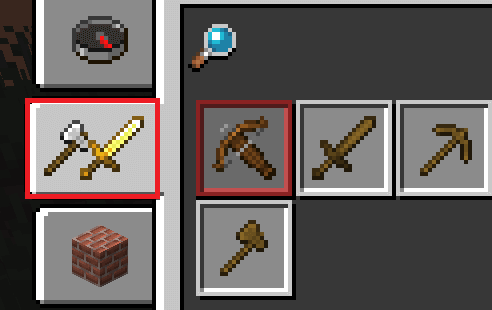
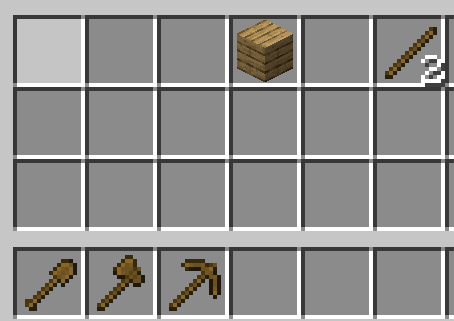
There are other tools for more unique circumstances, but for now we only need these. For this, click on the stick in the crafting table. You’ll notice that you need two planks stacked on top of each other in the crafting user interface to build 4 sticks. We will need 8 sticks so use the right click to pick up your planks and use the left click to place an extra plank in each box. Place your planks back in the inventory, and use left click to collect the sticks from the output box. We will now have unlocked new recipes to build basic tools. Click the tools tab in the crafting table inventory. Next, you can click on each of the tools – for now just craft a shovel, pickaxe, and axe, to create them. Use the same tips we have already explained to craft them and add them to your inventory or tool bar. Once you’ve finished, your inventory should look a little something like the image above. Exit the crafting table by pressing E. You’ve now built your first tools. Now it’s time to get to grips with the world around you.
Surviving Your First Night
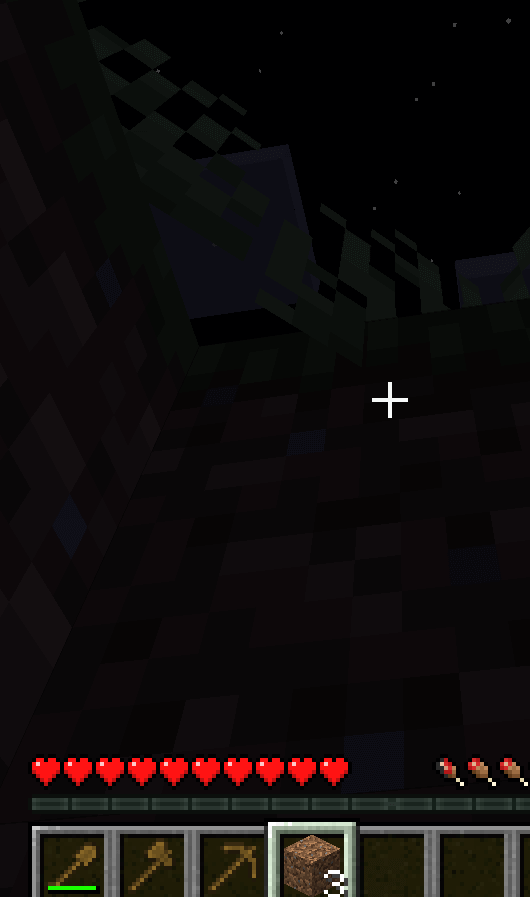
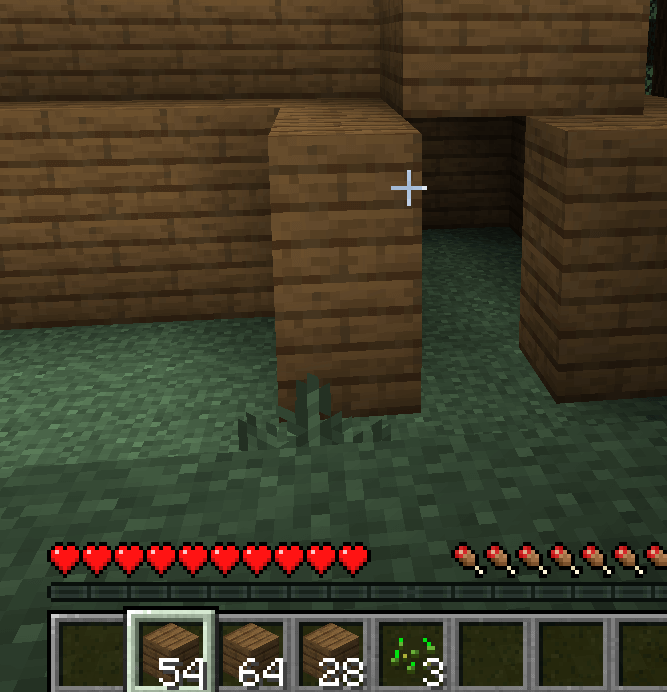
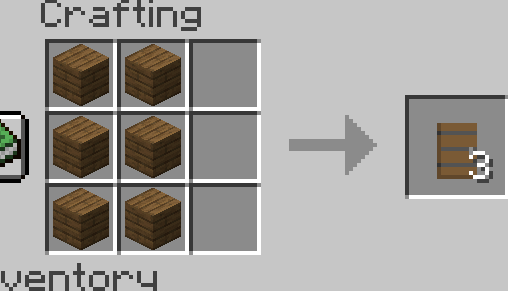
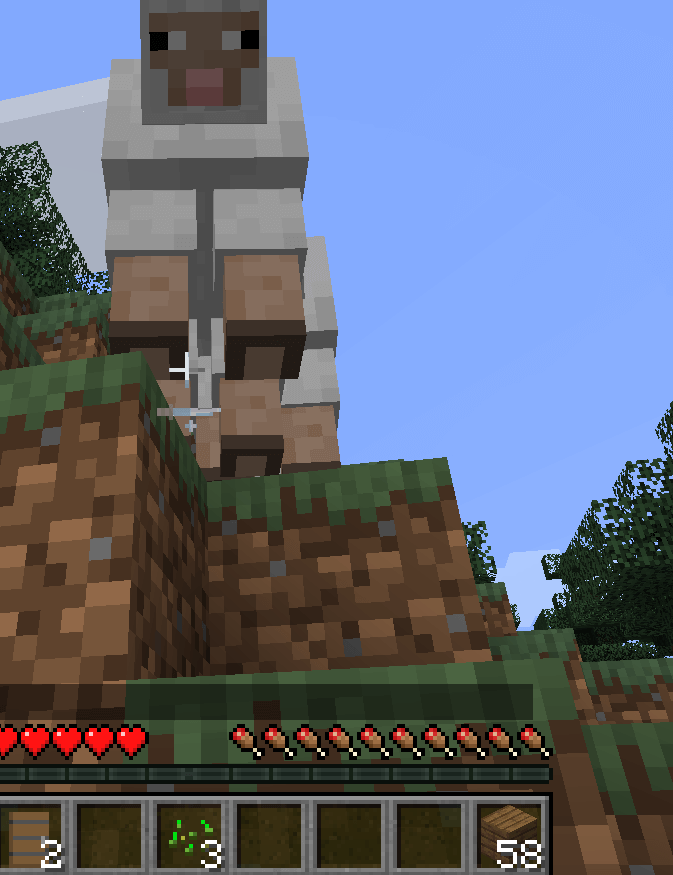
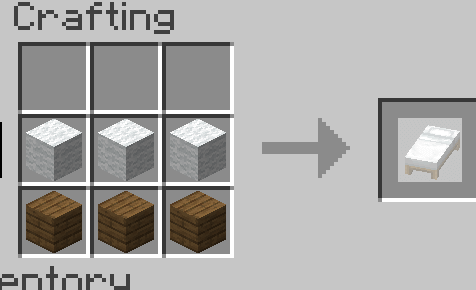
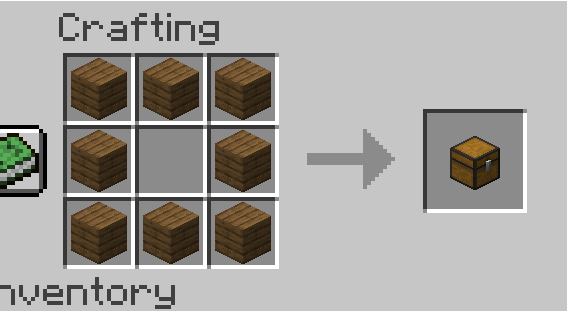
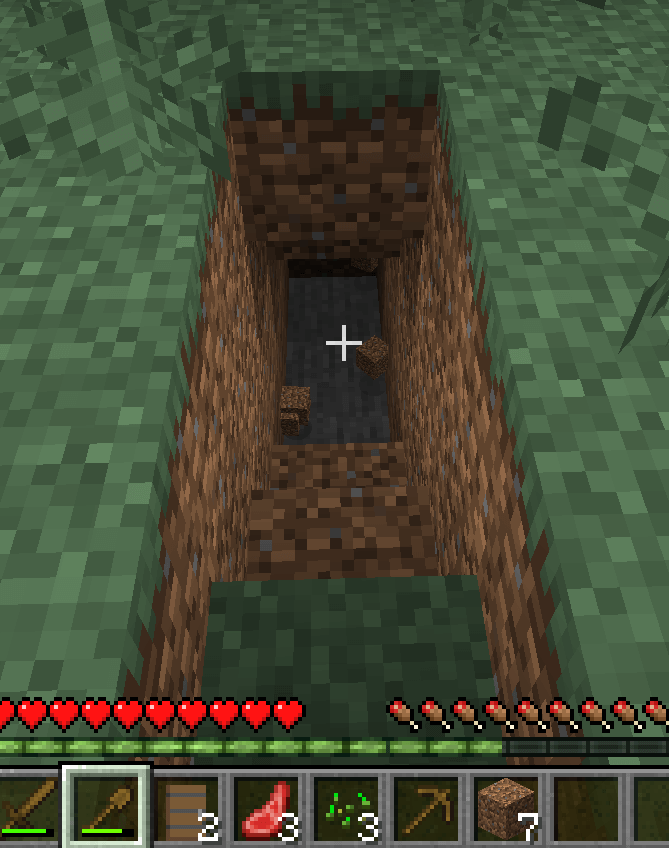
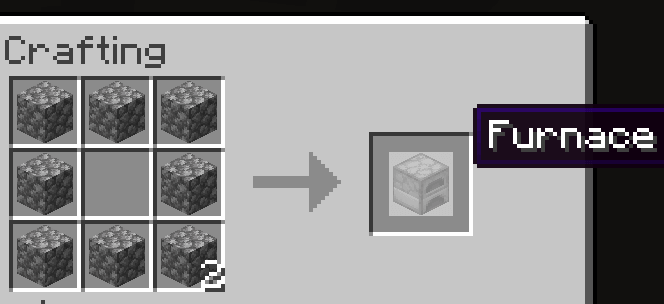
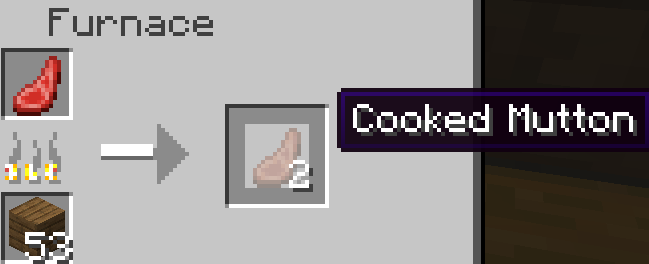
At night time, enemy mobs will appear and try to attack you. If you die, you will come back nearby, but you must go back and collect all your stuff. It’s best not to die in Minecraft because you can lose your items or lose your previous location. So to avoid this, for the first night we need to build a quick shelter. To make it as easy as possible, simply equip the shovel by pressing the corresponding hot key number for it. For us it was 1. Next, look at the ground and hold right click to dig down three blocks. Next, look up, and equip the dirt you just mined. It should be on the 4 key. Next, right click to place a block. It will now get dark. But the important thing is that you’re safe. You must now wait until morning. It should take about 7 minutes. So either wait and hear the dangerous creatures walking by outside, or take a quick break and come back in 7 minutes. Your game must stay open, otherwise the time will be paused. In 7 minutes time, you can look up and hold left click to dig the dirt to reveal the morning light. Now, if it’s still dark, just place the dirt down again and wait a bit longer. As soon as it’s morning, you can dig the blocks in front of you to create a small step to jump on so you can leave the hole you’ve been hiding in. So now that you’ve built your first house, you need to set up a real shelter so that you never have to hide in a hole covered in dirt again. There are just a few things you need – walls, a roof, a door, and a bed. With a bed, you can sleep so you don’t need to wait all night. The night will automatically be skipped. The walls and ceilings can be built from anything. You could get fancy and build it out of planks, or simply build it out of dirt. You can collect these resources from trees or the ground with the tools you’ve already crafted. You’re going to need quite a lot of blocks. At times, Minecraft can be quite tedious like this – you will need to collect lots of blocks through cutting trees, digging, and mining. You can start to place the blocks down to build your first house by equipping the blocks in your tool bar. The door is another craftable item that can be built in the crafting table with planks. Just open the crafting table menu and use the user interface on the left to select the door to craft it. The bed is the final piece and can be a little bit more challenging. You must explore the nearby area and search for sheep. If you find sheep, attack them. Once they are killed, they will drop wool and mutton. This will be your first adventure to go and look for sheep. You should be able to find some within a few minutes of your current location, just make sure you remember your way back home. You need three blocks of wool of the same color and three planks placed like the image above to create a bed in the crafting table. You will now have your first house. You can sleep in this bed at night time to skip the night. On top of this, should you die, you will respawn here in your bed in the future. There are two more things that are needed before we start to explore further in Minecraft. We need to build a chest to store our items, and a furnace to cook food. Chests are straightforward. Use the layout shown in the crafting table in the image above to place a chest. You can then place items inside by right clicking the chest and dragging items into the chest inventory. For the furnace, you must collect cobblestone. This can be mined with the pickaxe from under the ground. Start by using the shovel to dig down through the dirt. You will hit stone quite quickly. The best thing to do is dig down by creating stairs like shown above until you hit stone. You can then use your pickaxe to collect stone. You need eight cobblestones to build a furnace. You can see the furnace crafting layout above. Place the furnace down in your home. Now, it’s time to pay attention to the bars above your quick slots. These are your health and food bars. Your food will go down slowly, and if it goes too low, you’ll lose health. If it’s full, you’ll slowly regain health. To fill it up, you must eat food. You should already have mutton from the sheep you killed earlier, but you must cook it. To cook your food, right click the furnace. Next, place the meat in the top box and in the bottom box, place fuel. This can be any type of wood or coal. You can easily collect logs from trees if you don’t have any wood. Eventually, the food will be cooked and you will see it in the output box on the right. You can eat food by placing it in your quick bar slot, equipping it, and holding right click.
Exploring The World
At this point, you should now have all the basic gear to survive. You will have a home, a bed, tools, and a way to cook food and store items. At this point, it’s time to start collecting better gear. You can use the crafting table to build better tools, which last longer and mine blocks quicker. The quickest upgrade is to use cobblestone to build stone tools. But as you dig deeper you can find diamonds and iron. Iron is the next upgrade after stone, and diamond is even better. For now, stone will be fine. You must dig down deep to find iron and diamond, and that might take quite some time. In the meantime, you are able to explore the world for yourself and learn how to play Minecraft. You’ll learn more as you play. The fun in Minecraft is exploring and learning how to play yourself. What you do next is up to you. Will you dig down deep to find abandoned mineshafts filled with loot and dangerous enemies? Will you explore the world above to find villages to trade your loot or locate hidden temples to get better gear? Will you search for a saddle in chests hidden in structures so you can ride a horse, or will you work on getting diamond gear? The choices are endless. A great place to learn more about how to play Minecraft is by watching videos on YouTube or by reading through wikis like Minecraft Gamepedia. For now though, we hope that this beginners guide to getting started on Minecraft has proven to be useful.
